Thursday 18 April 2024

All Geared Up To Celebrate

Hi there my crafty friends!  I selected a piece of black gloss card and embossed the Crisscross stencil.  I cut the Assorted Tool Border that looks like a slotted screwdriver out of Brushed Silver card four times.  I glued it around the edge of the embossed mask design.  Next I cut the Industrial Chic Frame & Tag in black and glued it to the background.  I cut the Porsche from the Super Cars die set in red.  I used a fine tipped felt marker to add in the detail to the car and added a piece of white card behind to fill in the window areas.  I used a silver paint pen on the rims and coloured the tyres black.  I added the car in the bottom corner.  I cut the All Geared Up To Celebrate sentiment in red and added it to a white shadow backing piece.  I added it with mounting foam across the Industrial Chic Frame.  The card was completed with white, red and black mats and layers.  The finished dimensions are 71/2"  x  7 1/2"  in size. 

                                                         Follow my blog with Bloglovin

Wednesday 17 April 2024

For A Special Friend

Hello bloggers!  I selected a piece from my background stash to use for the background for today's card.  It was created using the Red Oxide and Coral Crush Pixie Sparkles.  Next I cut a white oval frame using the Double Stitched Ovals.  I added mounting foam to the back of the frame and added it to a white Looped Ovals die cut.  Using the Layered Coneflowers die set, I cut multiple flowers out of Cardinal Red card.  I cut the leaves and stems out of green card and added brown centres to the flowers.  I arranged all the flowers inside the frame and glued them into place.  I cut the For A Special Friend sentiment in black and added it to a white shadow backing piece.  I added it to the bottom of the card with mounting foam.  The card was completed with white and black mats and layers.  The finished dimensions are 8"  x  8"  in size.  

https://www.creative-expressions.uk.com/#45a8/fullscreen/m=and&q=Layered+Coneflowers

All for now, Sue x


                                                     Follow my blog with Bloglovin

Tuesday 16 April 2024
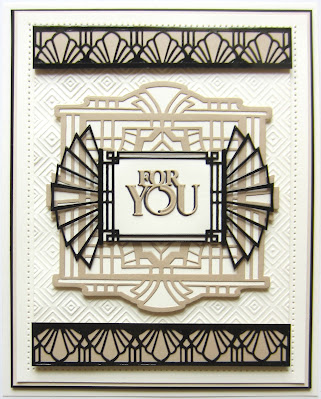
For You

 Hello bloggers!  I selected a piece of milk card and embossed it with the Diamond Illusion embossing folder.  Next I cut the Art Deco Fan Border out of Black Gloss card.  I cut the border in half down the middle, then backed both pieces with taupe card and added a thin strip of black gloss card to the cut sides on both of them.  I added mounting foam to the back of the borders and seated them at the top and bottom of the card.  I cut the Ornate Tile die in taupe and backed it with milk card and glued it to the centre of the card.  I cut the Fantail Rosette in Black Gloss card and added a milk backing to the very centre of the die.  I cut the Art Deco For You sentiment in taupe and black card.  I shadowed it then glued it to the centre of the card.  The card was completed with milk, taupe and black mats and layers.  The finished dimensions are 7"  x  8 1/2"  in size.

https://www.creative-expressions.uk.com/product/creative-expressions-sue-wilson-art-deco-collection-ornate-tile-craft-die/  


The winner of the April die release blog launch is.............................................................................................................................................................................................. Scottydog!!!

Congratulations!  Please email me at americansue1@gmail.com to confirm your postal address and claim your winnings!  All for now,  Sue x


                                                         Follow my blog with Bloglovin

Monday 15 April 2024

Sending Sunshine

Hello crafters!  I began today's card by cutting the Swirly Scrolls Background in both white and black card.   I used the black die cut as an offset shadow behind the white die cut.  I added a piece of Marigold Yellow card behind the background.  I added a piece of white vellum on top of the background, the attached a white frame cut from the Double Stitched Rectangles with mounting foam.  Next I cut the Della die with a piece of black card on top of a piece of white card.  I used alcohol ink markers to colour the image that was debossed into the white copy.  I glued the black die cut on top of it and added it to the inside of the frame with mounting foam.  I stamped the sentiment from the Sending Sunshine stamp set and cut it out with the inner decorative oval form the Della set.  I used Mustard Seed distress ink around the sentiment while it was still in the die.  I glued it to the centre of the Della die.  The card was completed with white mats and layers.  The finished dimensions are 7"  x  8 1/4"  in size.  

                                                         Follow my blog with Bloglovin

Sunday 14 April 2024

You're The Best

 Good Sunday morning all!  I have a sort of clean and simple card to share with you today.  I cut the Skylines Background out of Brushed Silver card and black card.  I used the black die cut behind the brushed silver to create a shadow.  I backed the entire piece with Silver Sparkle card.  I cut the You're The Best sentiment from the All Occasion  Wordie Sheets and added it with mounting foam to the top of the card.  The card was completed with white and black mats and layers.  The finished dimensions are 6 1/2"  x  7 1/2"  in size.  

                                                       Follow my blog with Bloglovin

Saturday 13 April 2024
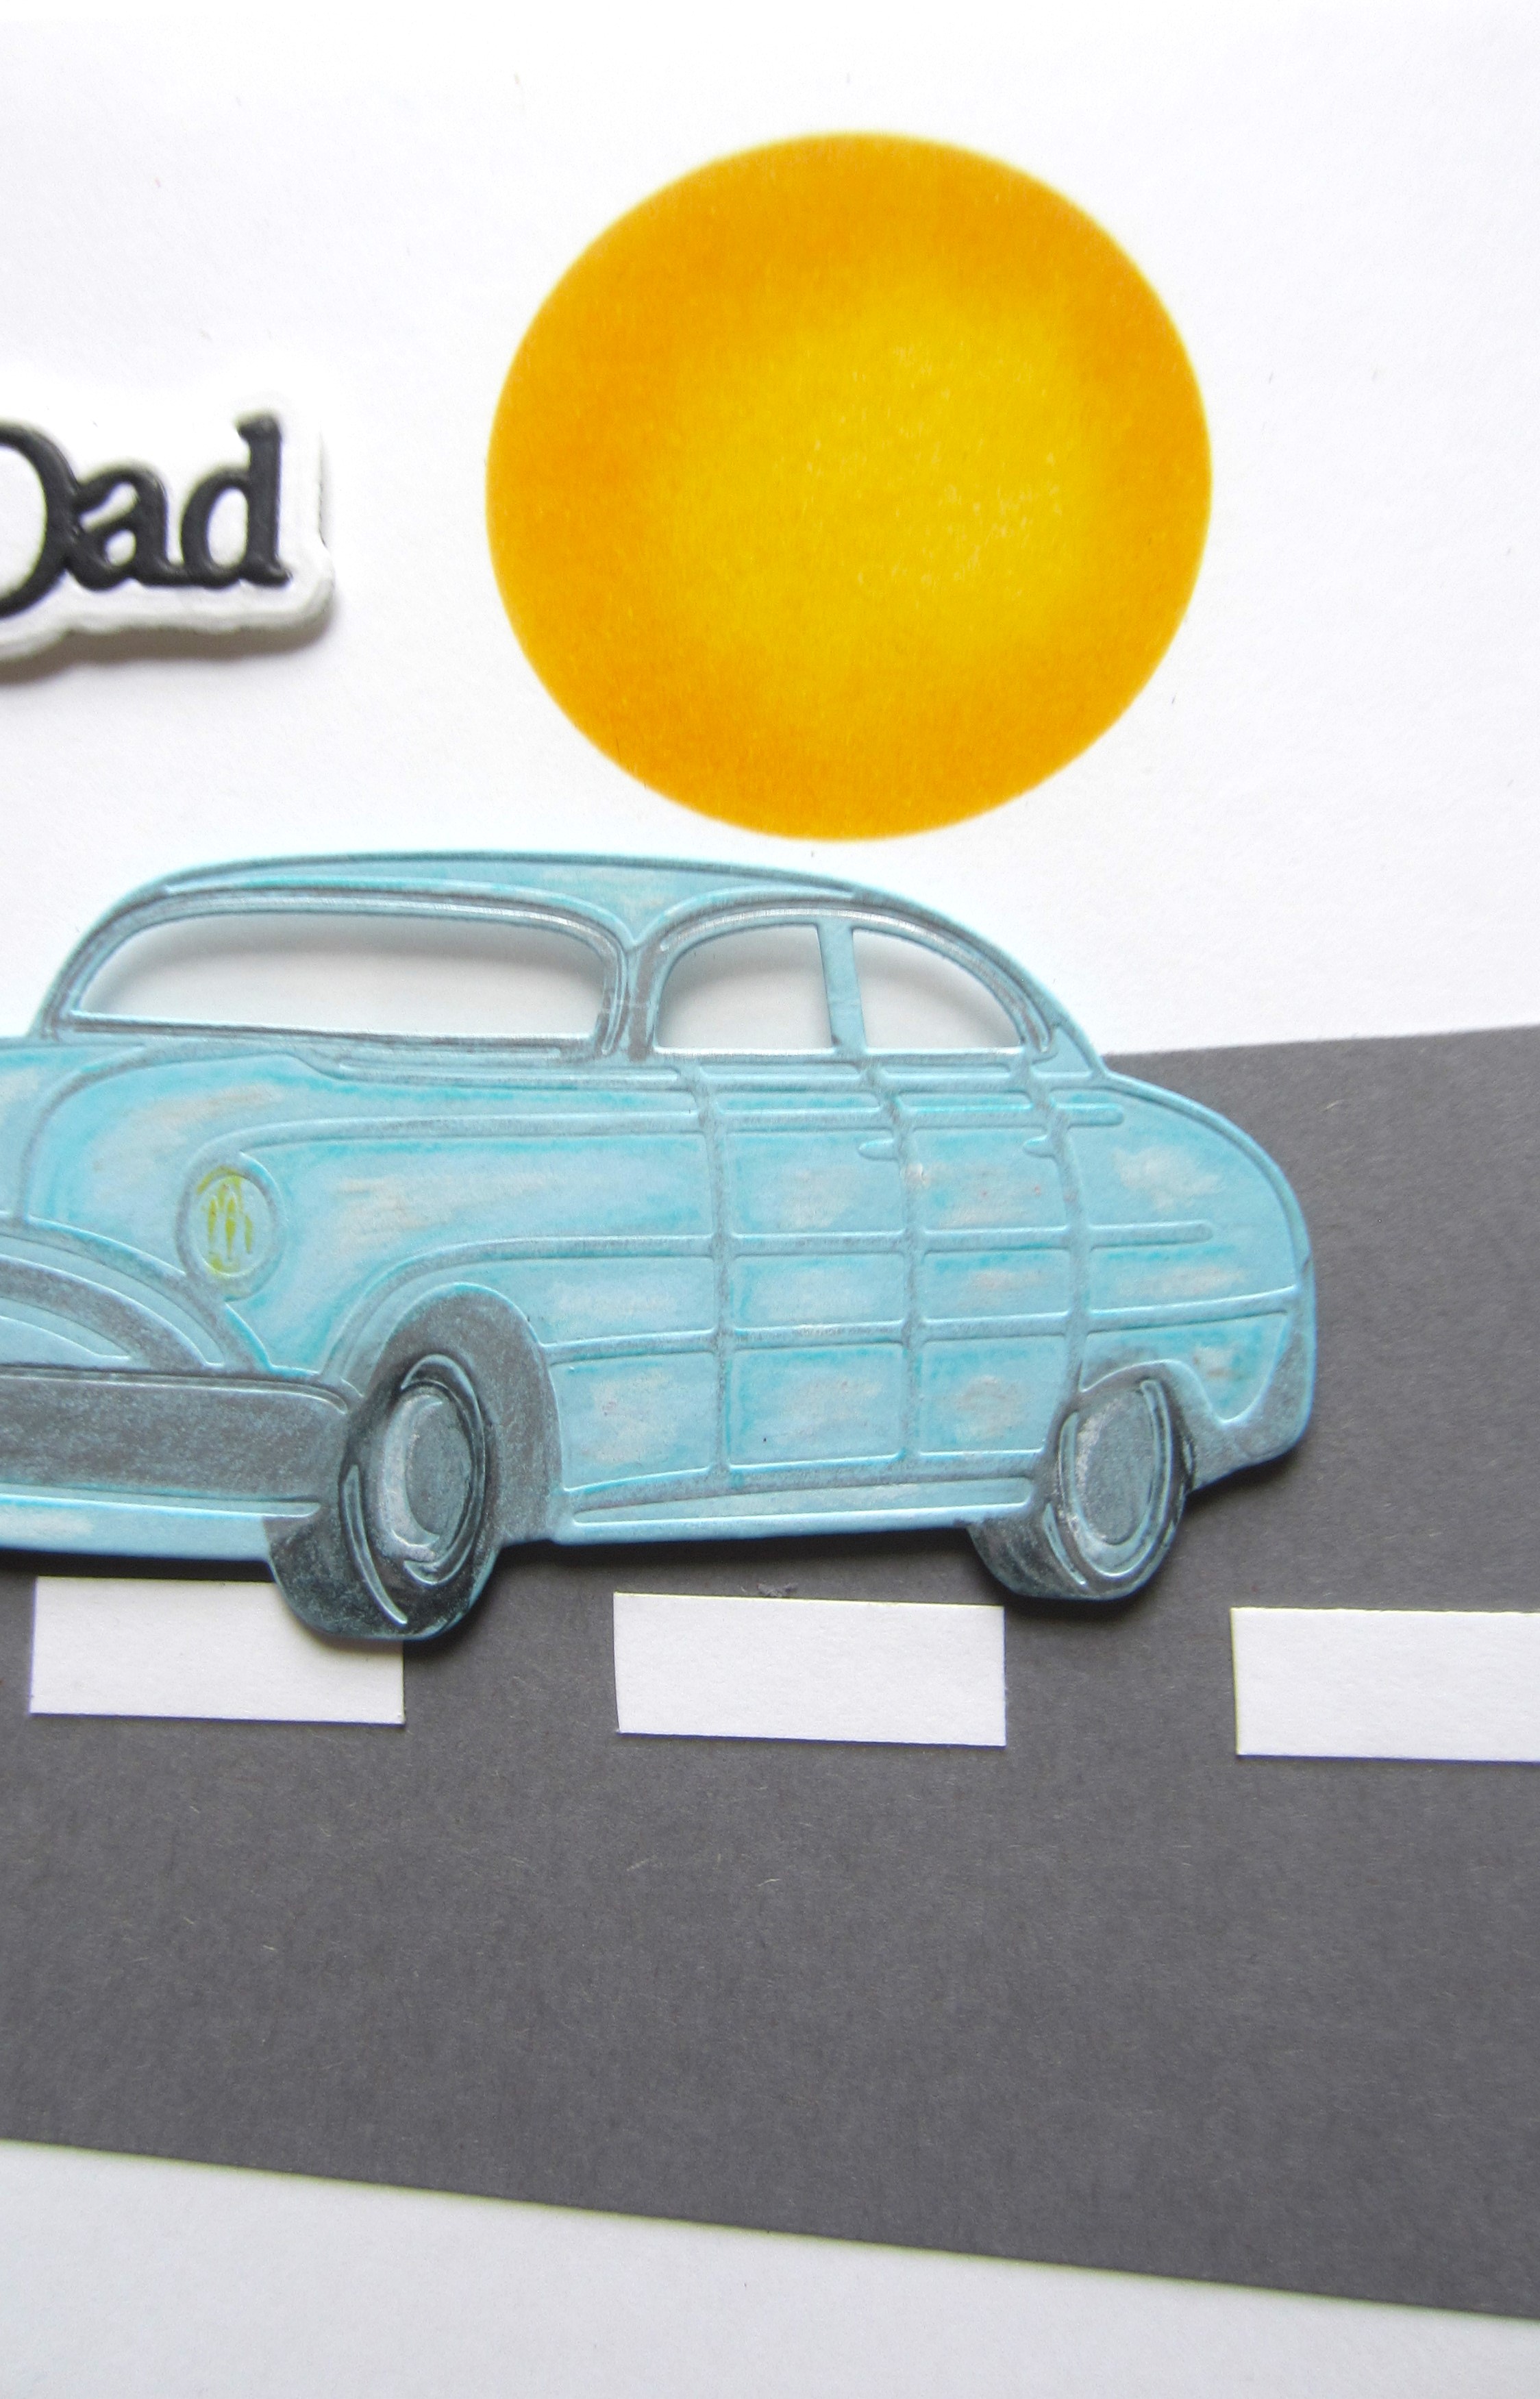
World's Best Dad

Hi there my crafty friends!  I selected a piece of white card for the background.  I cut a tapered strip of Slate grey card and added some white lines down the middle of it.  I cut the Vintage Car die out of aqua card.  I used a white pencil to shade the sides and a grey pencil to fill in the tires and bumper.  I added mounting foam to the back of the car and attached it to the road.  I cut a circle out of some card and sponged Mustard Seed distress ink through it to create a sun in the background.  I cut the World's Best Dad sentiment in black and glued it to a white shadow backing piece.  I added mounting foam to the back and seated it in the upper corner of the card.  The card was completed with white mats and layers.  The finished dimensions are 6 3/4"  x  8 1/4"  in size. 

                                                       Follow my blog with Bloglovin

Friday 12 April 2024

For Someone Special

Hi bloggers!  I started with a piece of black card for the background.  I cut one of the Coronet Lace borders in white four times.  I turned them towards each other and glued two of them to each side of the card.  Next I cut the Lena die with a piece of black card on top of a piece of white card.  I did this twice and used the white copy to colour the images.  I used a red alcohol ink marker to colour the flowers and sides and a green for the leaves.  I assembled the two images.  I attached the first one horizontally then added the second die cut vertically across the first one.  I cut the For Someone Special sentiment from the Wordie sheets and added it at the bottom of the card.  The card was completed with white, red and black mats and layers.  The finished dimensions are 7 3/4"  x  9"  in size.  

                                                         Follow my blog with Bloglovin